Comprehensive Guide to Epic Seven's Features and Content
Explore the diverse realms of Epic Seven, from the Sanctuary to the Labyrinth, Guild activities, and beyond. Uncover tips and strategies for maximizing rewards and conquering challenges in each area of the game.
Sanctuary
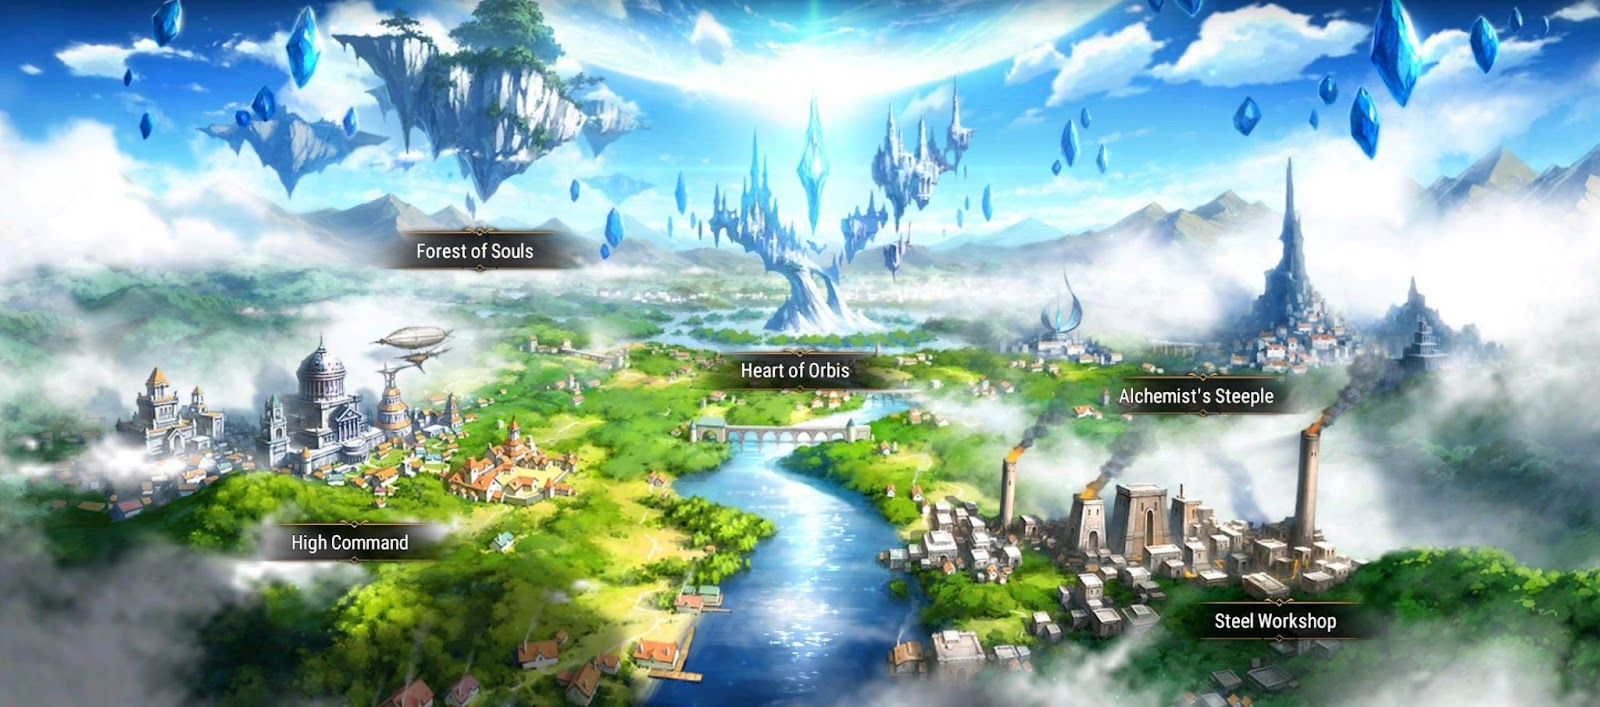
Navigating Epic Seven's Content: Sanctuary Essentials
Welcome to the Sanctuary, a haven for your adventurers in Epic Seven! Once you’ve triumphed through Episode 1 up to 1-10, you’ll unlock this vital feature. Here, you’ll encounter three distinct categories in each location, and the key to unlocking their full potential lies in the magical Breath of Orbis. These precious breaths can be earned by conquering specific stages or making savvy purchases in select shops. Your first Breath of Orbis automatically finds its way into the Heart of Orbis, initiating your journey. Now, let’s navigate this mystical realm together:
🌲 Forest of Souls (3/3/3):
– Prioritize the right side before summoning blooms.
– Complete the left and right side before welcoming penguins.
🏰 High Command (1/1/1):
– Opt for 1-energy missions rewarding Conquest Points and Ancient Coins.
💖 Heart of Orbis (2/3/3):
– Alternatively, go for 3/3/3 Heart and 2/3/3 Forest if a 12-hour timer suits you.
🔬 Alchemist’s Steeple (0/3/3):
– Refrain from crafting until you’ve finished the right side.
– Maintain a stash of Mana Drake Claws for Guild Aid.
⚙️ Steel Workshop (3/3/3):
– Max out this location before delving into crafting gear.
– Craft gear only at or above level 85.
These numbers guide you on the ideal Breath of Orbis investment for each category. Acquire these magical breaths as you progress through Episode 1, Unrecorded History, and Episode 2. Episode 2 breaths await in the AP shops, requiring completion of missions and a wise expenditure of 250 per Breath of Orbis. Seek these precious breaths in chapters 1, 3, 5-1, 6, 8, and 10 to enhance your Sanctuary experience!
Labyrinth
Embark on the thrilling journey through the Labyrinth, unlocking its secrets as you progress through Epic Seven! The labyrinthine adventure commences after conquering Episode 1 up to 1-10. Initially, your exploration starts at Tirel Castle, and the mysteries unfold further:

🏰 Tirel Castle:
- Begin your Labyrinth escapades here.
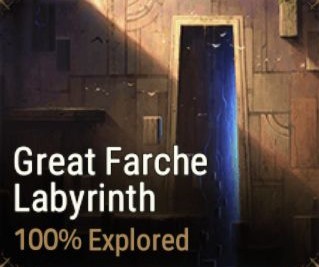
🌟 Great Farche Labyrinth:
- Unlocks after triumphing over Clarissa in Area 4 of Tirel Castle.
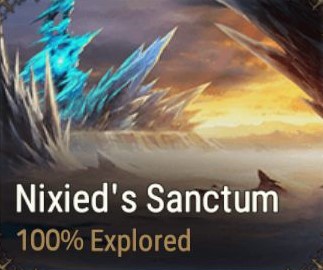
💧 Nixied’s Sanctum:
- Awaits your arrival after overcoming Celestial Mercedes in Area 5 of Great Farche Labyrinth.
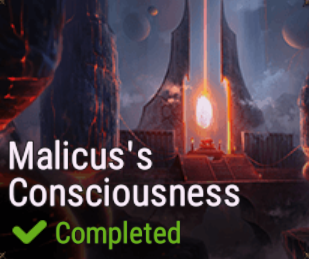
🔮 Malicus’s Consciousness:
- Reveals itself after defeating Elisia of the Ice in Area 5 of Nixied’s Sanctum.
Ready to dive into these mystical Labyrinths? All you need are those trusty Labyrinth Compasses, gifted to you at a sweet rate of one per day. Each entry? Just one compass – so resist the urge to splurge your Leifs on them.
Keep your eyes peeled for the ever-elusive Vagrant Merchant Huche. He’s your one-stop shop for charms, Covenant bookmarks, and catalysts (ignore the rest). You can usually find him hanging out in specific spots per stage, like Tirel Castle Area 1 or Tirel Castle Area 4. Swing by daily, ’cause his goodies get a refresh regularly. And hey, after your shopping spree, don’t forget to Yield instead of taking the portal out – it’s the savvy move.
Now, unlocking the next area in each Labyrinth? It’s all about completing the previous one. Make sure you head out through the portal leading to the next area to make the most of your precious Compass. And while you’re wandering, keep your sights set on snagging those Gold Chests in every zone and bagging those sweet Charm/Ancient Coin rewards. In Nixied’s Zone 5, you’ll stumble upon some seriously enticing mid-game Destruction/Crit set gear in those gold chests – perfect for your PvE adventures. Oh, and whatever you do, don’t sleep on that 100% reward for Zone 5 – it’s a juicy 5★ artifact ticket!
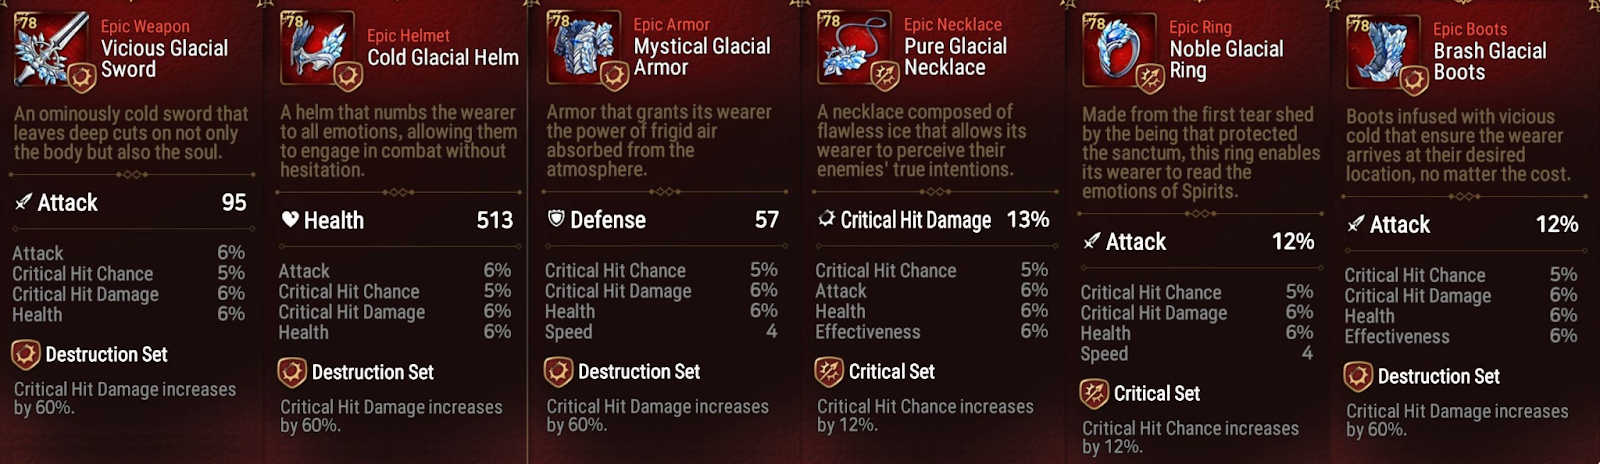
As you step into the final frontier, Malicus’s Consciousness, consider tackling this challenge after mastering Nixied’s Sanctum Zone 5 with a perfect score. The level 80 Torrent Set right-side pieces emerge as invaluable aids for PvE endeavors, while the two level 88 pieces are notable additions (particularly the neck if it dodges Crit Chance). Plus, your triumph over Zone 4 unlocks yet another coveted 5★ artifact ticket, making your labyrinth adventure a treasure trove of rewards!
Guild
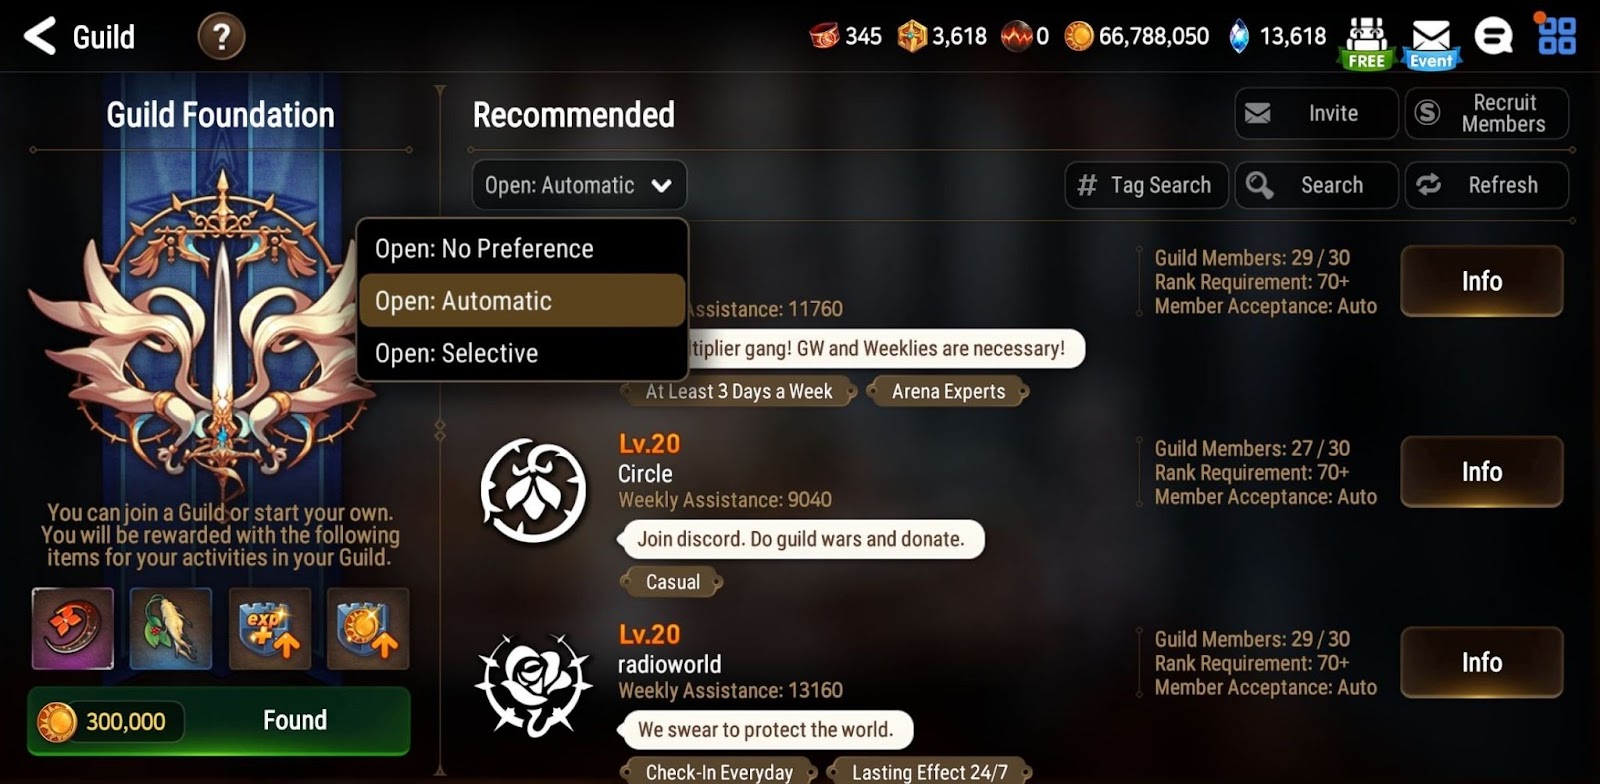
Welcome to the bustling world of guilds, where camaraderie and rewards await at Rank 10! Dive into the guild experience early to access abundant rewards and gather Brave Crests essential for Furious’s connection. Connect with fellow adventurers or find guilds with Automatic acceptance in-game. Ensure the guild’s activity by checking member login dates. Remember, your guild currency stays safe if you switch guilds, but there’s a 24-hour cooldown before joining a new one. Join a guild and embark on an exciting adventure with your newfound comrades!
Explore the treasures waiting for you in the Member Shop of your guild, where a trove of valuable items awaits. From Molagoras to Equipment Gem Conversion boxes, Artifacts Charms, and powerful Artifacts, it’s a goldmine for artifact experience. For a detailed rundown on Brave Crests, Proof of Courage, and Commander’s Armbands, check out the currency guide.
Maximize your daily contributions: donate the maximum Gold and Proof of Courage, lend a hand to fellow guild mates, tackle the World Boss whenever it shows up, and dive into Guild War battles whenever possible.
When aiding your guild mates, prioritize Mana Drake Claws or their equivalents for maximum Brave Crests yield – each member earns a whopping 120 crests this way. Meanwhile, Greater Runes yield 100 crests but are less energy-efficient. Avoid donating catalysts, as they only grant 80 crests. Let collaboration flourish as you embark on this epic journey together!

Guild War injects excitement into your week, taking place every Monday, Wednesday, and Friday. No matter the lineup or expected outcome, it’s crucial to use all your attacks. Why? Because each skirmish, even if you don’t win, nets you Mystics and Armbands. Every battle counts towards your progress and resources, making each one a step forward. So, dive into Guild War with enthusiasm, embracing the rewards that come your way, whether you win or lose!

Prepare for the exhilarating World Boss battles, available every day except Thursday. Invest 20 energy per attack, with the chance for up to two attacks daily. After each triumphant battle, unveil a plethora of rewards from the boxes. Aim for high scores for extra perks, such as a random Equipment Conversion Gem and an Equipment Gem Conversion Chest.
Keep an eye on the boss reset every three days. Your strategic prowess isn’t limited to the battlefield – earn additional armbands based on how many guild members use your team in their battles. Take on the World Boss challenges and let your victories resonate throughout the guild
Stay vigilant, as the boss resets every three days. Your strategic prowess extends beyond the battlefield, as you earn additional armbands based on the number of guild members utilizing your team in their own encounters. Dive into the World Boss challenges, and let your triumphs echo throughout the guild!

Prepare for the grand odyssey of Ancient Inheritance (AI), a collaborative guild spectacle unlocked at Rank 40. This thrilling guild event unfolds biennially, spanning two weeks every three months. Dive into the excitement as all participating units receive a significant boost to level 60, 6-star awakening, and +15 skill enhancements. AI levels the playing field by scaling down gear stats, ensuring inclusivity for players of all levels.
The rewards from AI are truly remarkable, and the best part? Participation in this grand adventure comes at no cost, so seize the opportunity whenever it graces your guild.
For those seeking guidance and strategies, an invaluable Ancient Inheritance Guide awaits. Packed with general tips, team compositions, insights into enemy skills, and a link to a live-updating map, it serves as your compass through the intricacies of this extraordinary guild endeavor. Unite with your guildmates, conquer the challenges, and savor the abundant rewards that AI brings!
Spirit Altar

Welcome to the Spirit Altar, a realm unlocked upon clearing Episode 1, Stage 2-10. Within these sacred grounds lie Runes, the essence of awakening and enhancing your units. For Common Runes, venture into the Easy difficulty for optimal yields, while the elusive Greater Runes and Epic Runes await in the challenges of Hell difficulty.
Timing is key. While the ultimate Rune-farming experience unfolds during the monthly 2x Rune Buff events, progression may beckon you to harvest runes at any time. Fear not, for the altars follow a set rotation, as detailed in the schedule below. Additionally, all altars generously open their gates during the monthly 2x Rune Buff event, regardless of the day.
A word of wisdom: Patience pays off. Though unlocking a closed altar with Skystones might tempt you, trust us, it’s not worth the cost. Wait for the altar to unveil its secrets naturally, ensuring your resources are preserved for greater endeavors. Happy rune-hunting!
Mon
Tues
Wed
Thurs
Fri
Sat
Sun
All
All
Arena
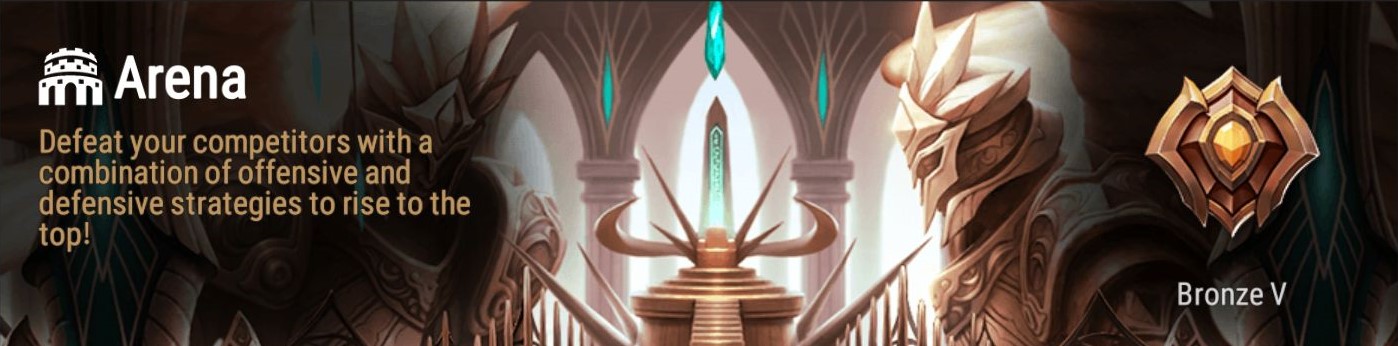
Arena, the proving ground for aspiring champions, welcomes you upon your triumph over Episode 1, Stage 2-10. In these initial two weeks, seize the opportunity as Conquest Points flow abundantly, allowing you to enhance your gear with charms.
Navigating the early Arena battles may seem daunting, but fear not. Start with a humble 2* fodder defense while strategically challenging opponents with similar setups. Utilize the “Revenge” option to counter-attack those who best your defense, especially if they employ a similar strategy.
Keep a watchful eye on your combat history to glean insights into the teams that overcame your defenses. Remember, the “Revenge” option is your ally in planning strategic retaliation.
In the Bronze ranks, defense losses incur no point deductions, providing room for experimentation. As you climb the ranks, each tier increase brings slight penalties for defense losses. Armed with complimentary level 75 gear sets, confidently challenge weaker teams and steadily advance your standing.
While opponent rank serves as a guide, remain cautious. If you find yourself losing points faster than gaining them, consider transitioning to a more conventional defense setup featuring your geared units. Here’s to your victory in the Arena!
Abyss
Prepare for an adventure into the enigmatic Abyss, awaiting your arrival after conquering Episode 1, Stage 2-10. In the early stages, simplicity is key—forge a formidable team of your best units, with a healer for added support, and delve into the depths. Don’t overthink; if progress stalls, utilize the Purify button for a lucrative influx of Gold and Stigma.
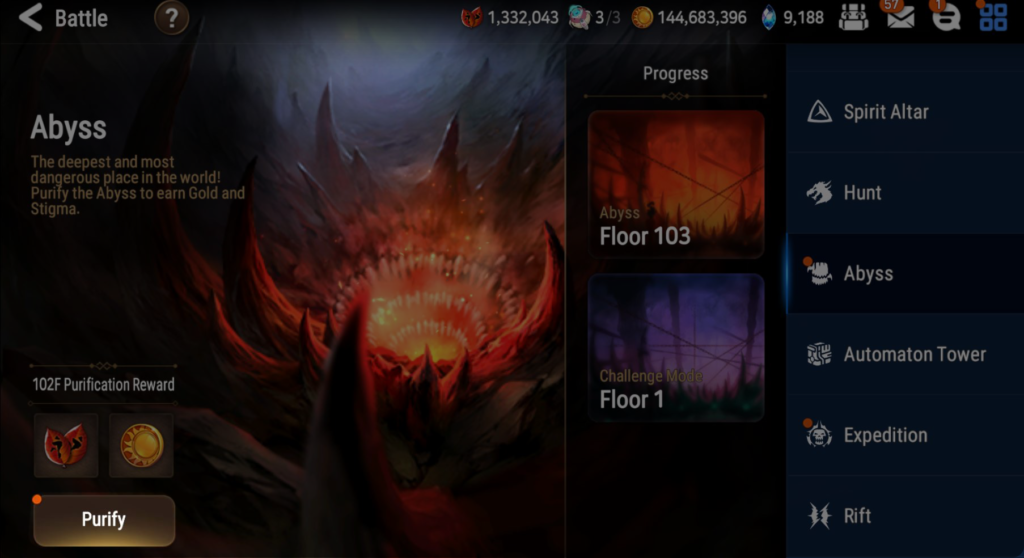
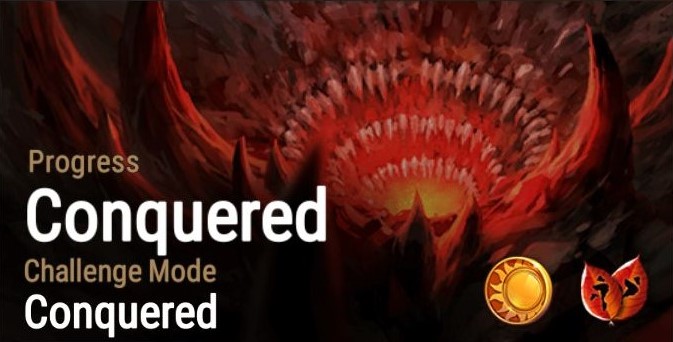
The real challenge awaits in Challenge Mode, unlocked upon conquering Abyss Floor 80. Each stage presents unique requirements for victory, offering rewards based on the stars earned. Return to conquered floors at no cost, allowing you to tackle challenges initially and revisit later for full rewards. Uncover the mysteries of the Abyss and let the stars light your path to glory!
Pets
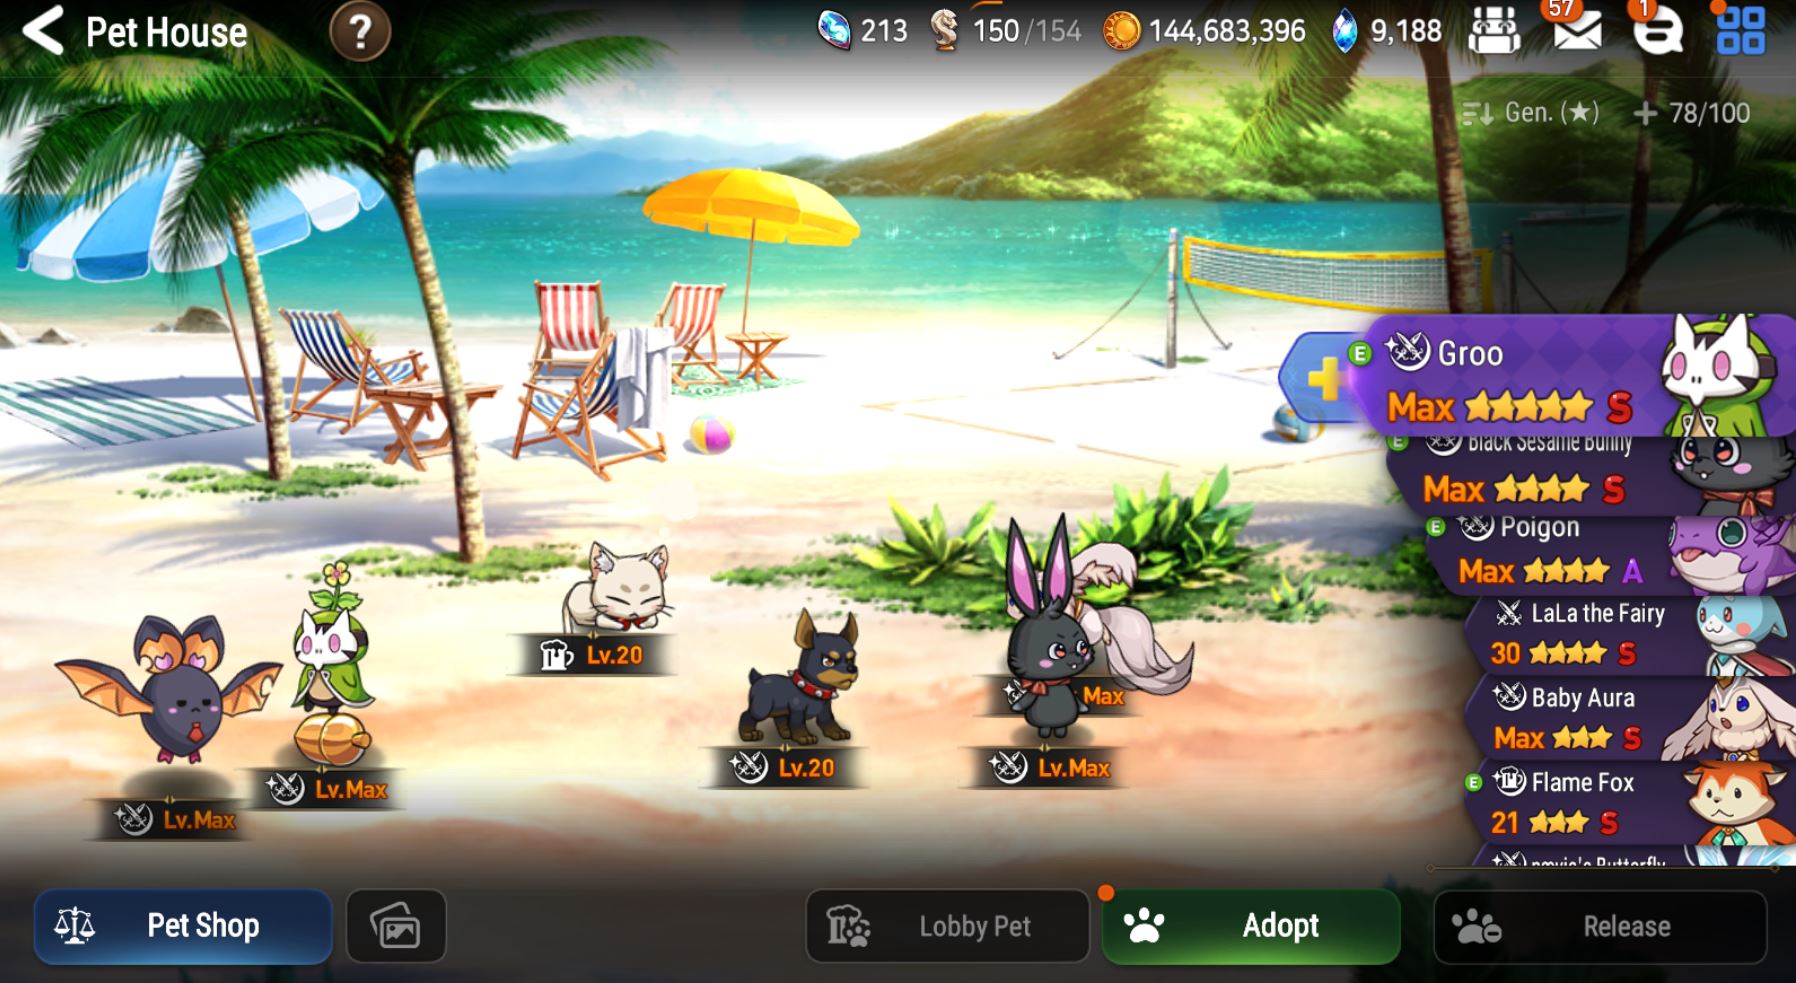
Dive into the world of Pets as you reach Rank 25, unlocking a game-changing feature. Pets become invaluable companions, automating battle repetitions and providing unique bonuses with their skills. They even lend a helping paw in Adventure, streamlining your journey. While investing in Pets early on can be costly, prioritize daily summons and save any Pet Tickets from the World Boss—avoid spending skystones on tickets. Start your pet journey by crafting a Hunt pet, perfect for enhancing your battle skills. Whether you’re exploring Adventure or mastering the Spirit Altar, team up with pets tailored to your needs.
Specialty Change
Embark on the transformative journey of Specialty Change (SC), unlocking this feature upon reaching the conclusion of Episode 1-10. One of the early-game highlights includes Momo’s Specialty Change, transforming her into the formidable Angelic Montmorancy (AMomo).

Montmorancy


Side Story
Step into the enchanting world of Side Stories, just a tap away from the Lobby’s bottom-right button! These adventures unlock after you’ve conquered Episode 1-10, and trust me, they’re worth the wait. Let’s dive in!
First up, we’ve got the classic Side Story, like “A Dear Mentor.” It’s got a shop where you’ll want to grab everything except the kitchen sink (well, okay, no runes or gold here). Play through stages from Easy to Hell, picking the toughest you can handle to rack up event currency efficiently.
Once you finish “A Dear Mentor,” you’ll snag “Story Collection” items, vital for Story Summon. Find it in the Summon section, right alongside your regular banners. Summoning costs 4 Story Collections, but don’t fret – the first unlock is on the house! It works just like regular banners, lasts 7 days, and comes with a 120-roll pity system. Make sure you’ve got enough bookmarks to hit that pity if you’re after someone special. And hey, after the banner ends, you can use 4 Story Collections to reopen it. Pretty neat, huh?
Now, over in the Side Story List, you’ve got a buffet of tales to choose from, each focusing on different characters you’ll unlock as you play through Adventure. Once you pick one, though, you’re committed, so make sure you’ve grabbed everything you need from the shop before moving on. This list sticks around indefinitely, so you can farm catalysts like a pro. Plus, every two weeks, you get a “Change Ticket” to start a new story. Handy, right?
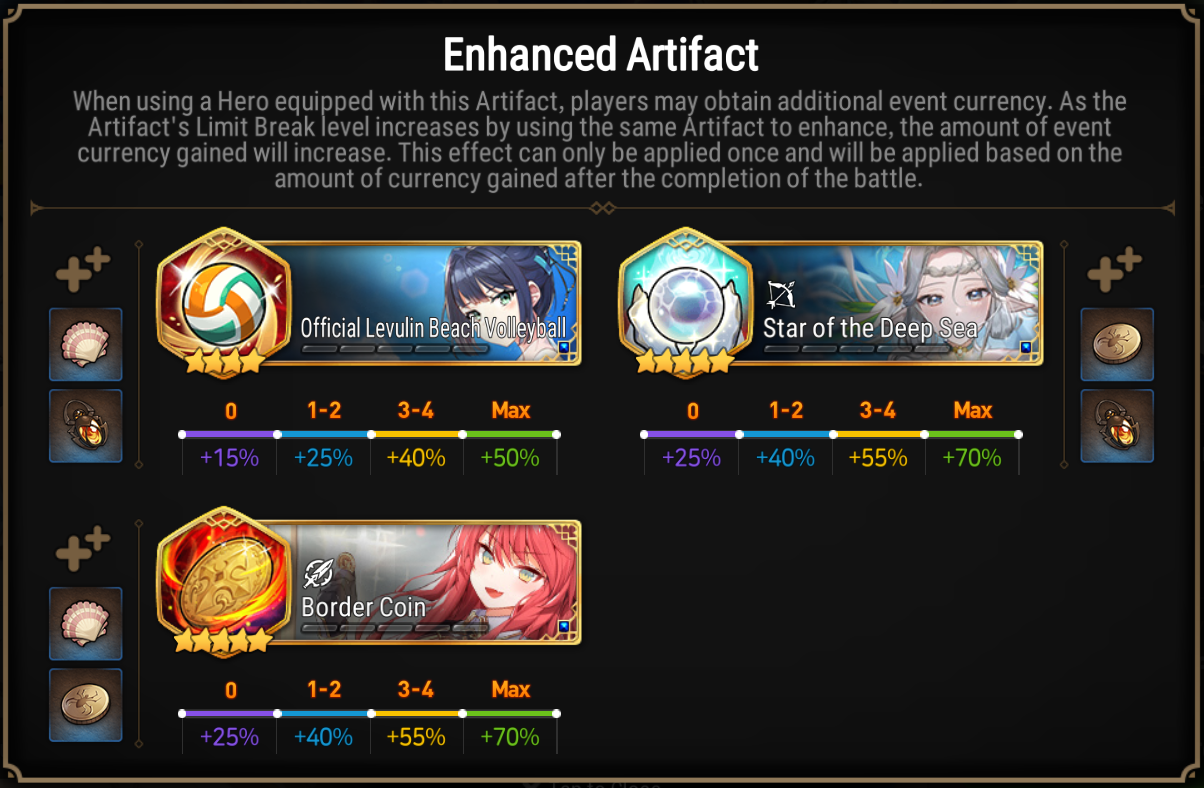
And let’s not forget the special stuff – the Special Side Stories! These are multi-week adventures tied to holidays or collab events, with new sections unlocking each week. They often bring nifty artifacts that boost event currency when equipped. Keep an eye on these, ’cause they’re a goldmine for sweet gear. Load up on those bonus currency artifacts to make shop-clearing a breeze. Just make sure your gear’s at least level 78, and get ready for some serious fun in the Side Stories!
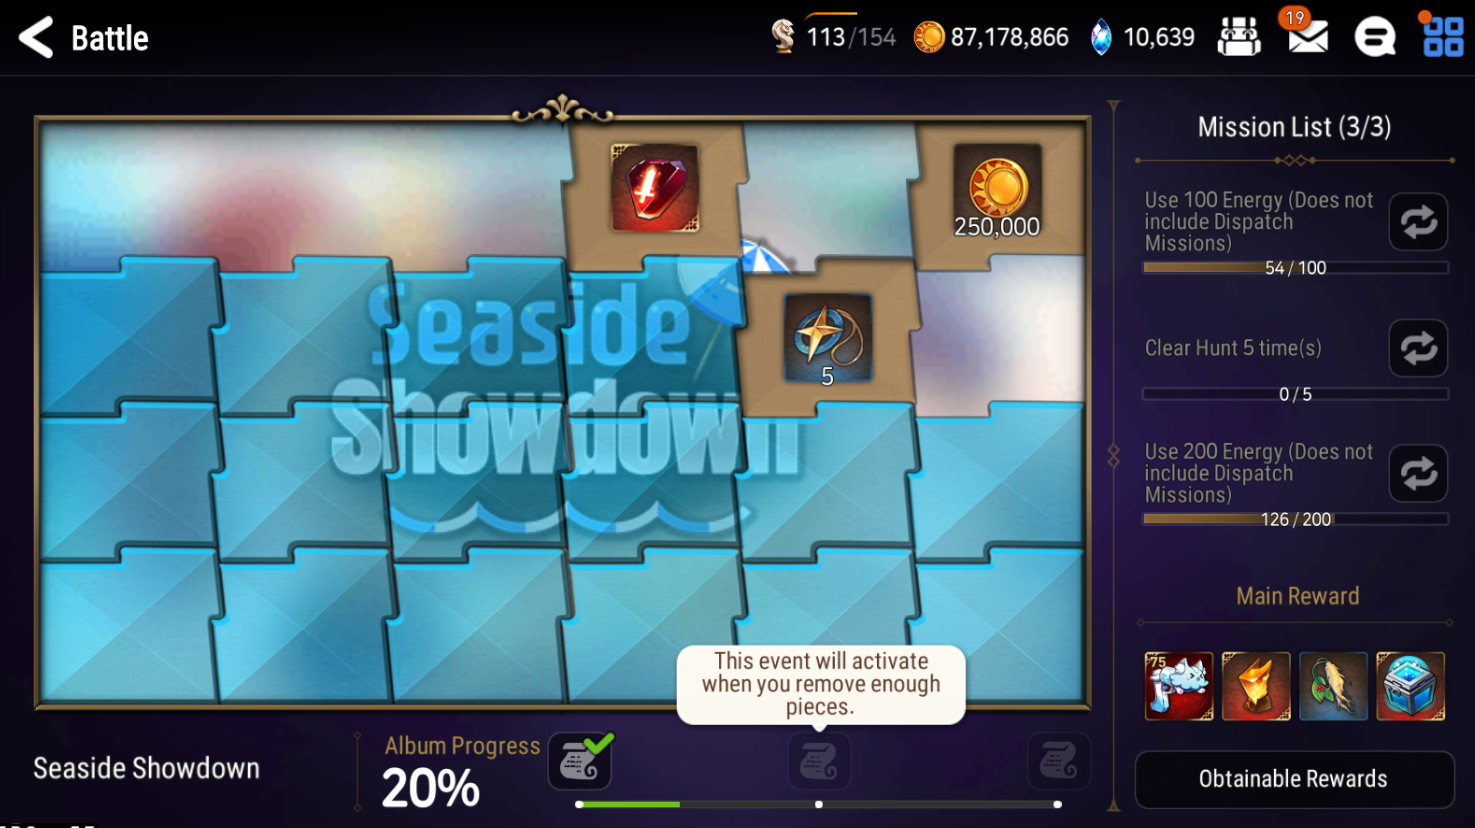
Oh, and don’t forget about the puzzle sidestories! They’re a whole different ball game, marked by 24 puzzle pieces waiting to be uncovered as you complete missions. And let me tell you, these missions are a breeze – straightforward and easy to tackle. Plus, here’s the best part: you can reroll each piece’s mission up to 10 times! Talk about stress-free rewards with minimal effort. So, if you’re up for a fun challenge without breaking a sweat, the puzzle sidestories are where it’s at!
Unrecorded History

Ah, welcome to Unrecorded History (UH), your go-to destination post-Episode 1-10! Here’s where the magic happens, folks. Picture this: a treasure trove of catalysts just waiting to be discovered, essential for beefing up your units as you journey through the game. But that’s not all – mastering UH isn’t just about catalysts; it’s your ticket to scoring big on Moonlight Blessing rewards, as well as SS, Mola, and Breath of Orbis goodies. Oh, and did I mention the challenge? Yep, meeting those 3-star requirements for all stages is all about keeping three units alive, with the friend supporter graciously excluded. So, gear up and get ready to conquer UH like a champ!
Automaton Tower

Hey there, welcome to the Automaton Tower – your ticket to some seriously sweet rewards! So, here’s the deal: once you’ve conquered Episode 2-3, this tower of treasures opens its doors for you every two weeks, offering up goodies that make it totally worth your while. Now, as you climb each floor, you’ll encounter these nifty devices that buff up your units. Pro tip: think long-term gains over quick fixes when choosing which buffs to snag. Aim high, aim for that tippy-top floor each reset! But hey, if you hit a snag on a particular stage, no sweat. You’ve got the option to reset and start anew, no harm done. And guess what? You won’t lose any energy on floors you’ve already aced – it’s like a free pass to try again! So, don’t stress about building new units just for this tower; stick with your tried-and-true crew, and if you’ve got a bunch of options, mix it up based on the devices you snag along the way. Happy tower-climbing, my friend!
Hall of Trials

Hey there, welcome to the Hall of Trials, or as we like to call it, the HoT spot for exclusive upgrades! Once you’ve cleared Episode 2-4, this place becomes your go-to for unit-specific Exclusive Equipment (EE), boosting up their skills and stats like never before. Now, here’s the scoop: each unit with an EE has three different options, and the one you get is like a surprise gift, randomly determined when you purchase it. Early on, focus on snagging the right upgrade rather than sweating the main stat – that’ll come later. And guess what? You can even craft your own EEs at the Alchemist Steeple, picking exactly what you want with a maxed main stat. Just gather up seven EEs and make sure your Steeple is fully upgraded, and boom, you’re good to go!
Now, to rack up that HoT currency, it’s all about dealing as much damage to the boss as you can before the dust settles. And here’s a tip: even if your score isn’t off-the-charts amazing, give it a shot anyway – it’s free to try! Plus, you can snag extra currency through the Hunt Expert Challenge, but we’ll get into that later. So, gather your best squad, dive in, and let’s crank up those upgrades together!